
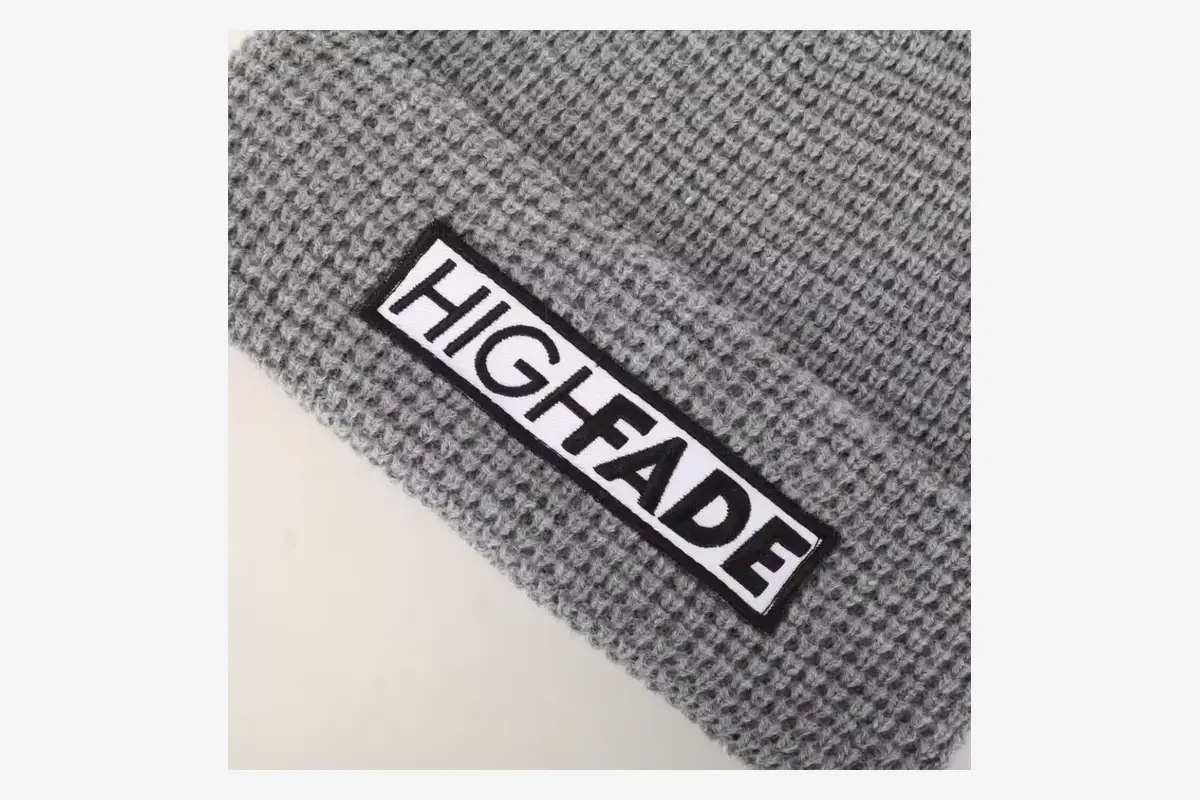
WiseBeanie's patch options include woven labels and leather patches, with exact materials and production details reviewed by project. When you share the artwork and look you want, include the hat or cuff reference too.
What to check in the material sample
For a woven label, look at the surface, color and flexibility. For a leather patch, establish the material description, thickness, finish and color. A photograph won't confirm composition or treatment.
Try the component on the intended knit. A patch that sits well on a firm cuff may be too stiff or large for a softer, more flexible one.
The outside dimensions matter
Enlarging a patch to show every tiny detail may cover more of the cuff than intended. Check the size on the hat before deciding which artwork details need adjustment.
Record the artwork version, size and colors alongside those dimensions. Check the edge finish on the actual sample, and agree on attachment method, stitch position where applicable and the appearance underneath. Reference cuff edges, front center and seams for placement.
Look for edges that lift, catch or feel uncomfortable. Inspect from inside the hat as well as outside. “Secure attachment” is a useful aim, but the approved sample needs to show what acceptable looks like.
Use two drawings when the graphic and patch differ
One drawing should show the outside shape of the component. Another view, or clearly marked dimensions on the same drawing, should show the logo inside it. Keep the edge and attachment area visible. This avoids a quotation based on the graphic dimensions when you meant the full patch dimensions.
If the outline has corners or a shaped edge, ask to see the physical version. A clean vector outline doesn't show how the finished edge will feel or how it will sit on the knit. Review any proposed rounding or change to the outline before it becomes the accepted sample.
For woven labels, distinguish the visible face from any folded or concealed portion used in attachment. For a leather patch, identify the full material description and finish to be supplied rather than treating a color photograph as its specification. These details can change the component even when its front artwork looks similar.
Review flexibility where the patch will sit
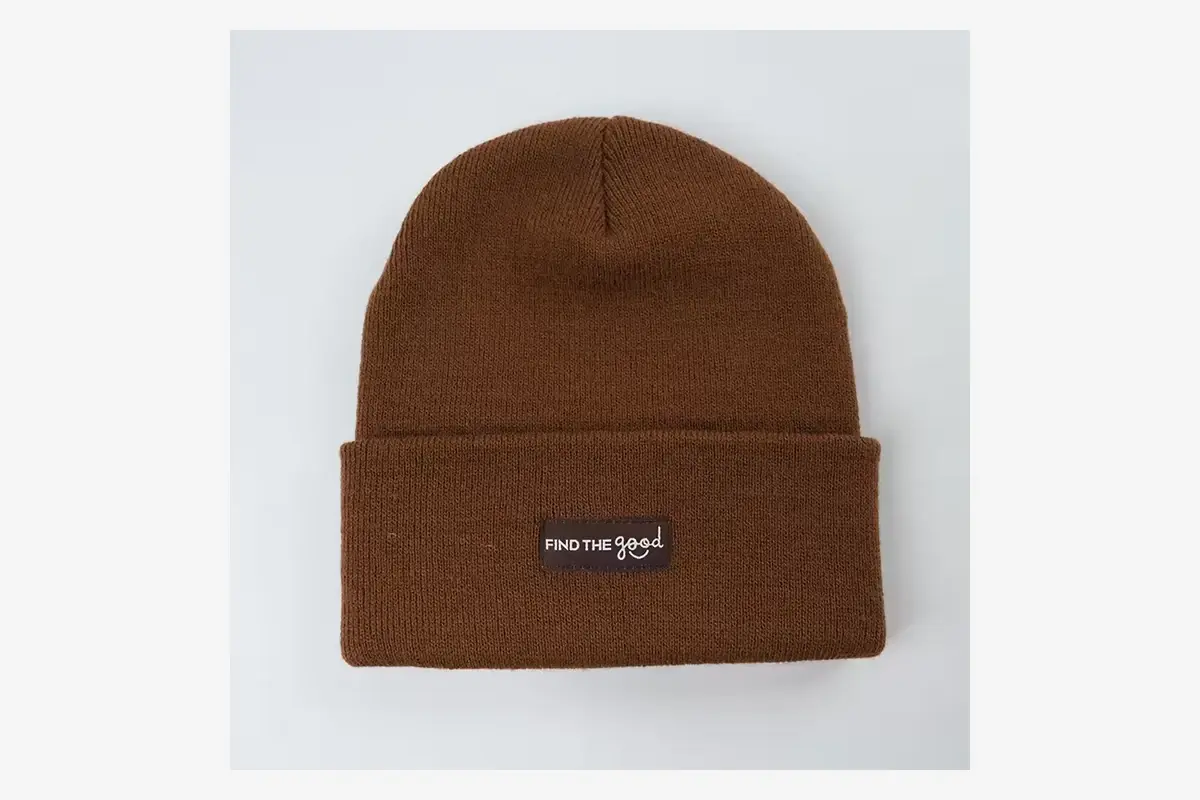
Assess the component on the intended cuff as part of the completed sample. Check the hat flat, with the cuff folded, and during the agreed fit review. Note whether the patch follows the surface, lifts at an edge or changes the local wearing feel.
Use the sample review to check visible lifting, uncomfortable edges and placement. For a durability or attachment-strength claim, agree on a test method and acceptance requirement.
When requesting a correction, identify whether the concern is the component, its location or its attachment. A softer material will not automatically correct a misplaced patch, and moving the patch won't necessarily address an edge that catches.
Approve substitutions at the component level
If the proposed material or finish becomes unavailable, ask for a named replacement and how it differs. Review the new component on the hat where the change could affect flexibility, appearance, care or attachment.
Keep the old and new references distinguishable. A component described only as “brown patch” can be difficult to identify later. Use the approved material or supplier reference alongside the artwork revision, not in place of it.
For a reorder, send the component record as well as the hat record. Include the approved material, finish, artwork revision and attachment details.
Check care instructions for the combination
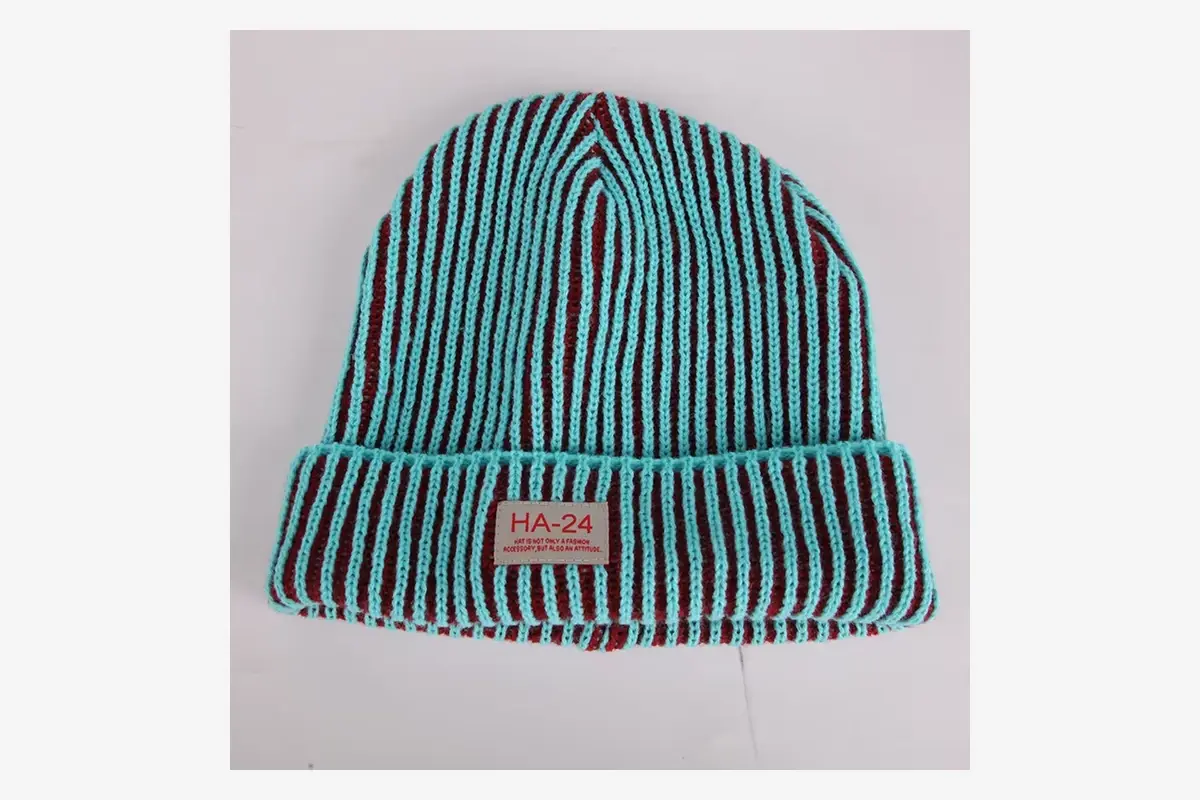
Patch material, decoration and hat yarn may respond differently to a care process. Ask for instructions supported for the complete product and review a representative sample using them. Don't promise a washing or drying method for the patch without evidence that supports it.
If the patch changes after approval, revisit appearance and care information. A replacement can look similar while being made from a different material.
Keep the approved patch sample, or clear reference photos, with its material details and attachment drawing in the beanie specification. Add the supplier reference where available. Use the same record to review proposed replacements.
Related Guides and Factory Options
- Embroidery vs Patches for Beanie Logos
- Review custom production options
- How Sampling and Production Work
Send the logo, preferred patch dimensions and a material reference if you have one. We will review the attachment and placement for your knit.
Discuss Custom Patches