
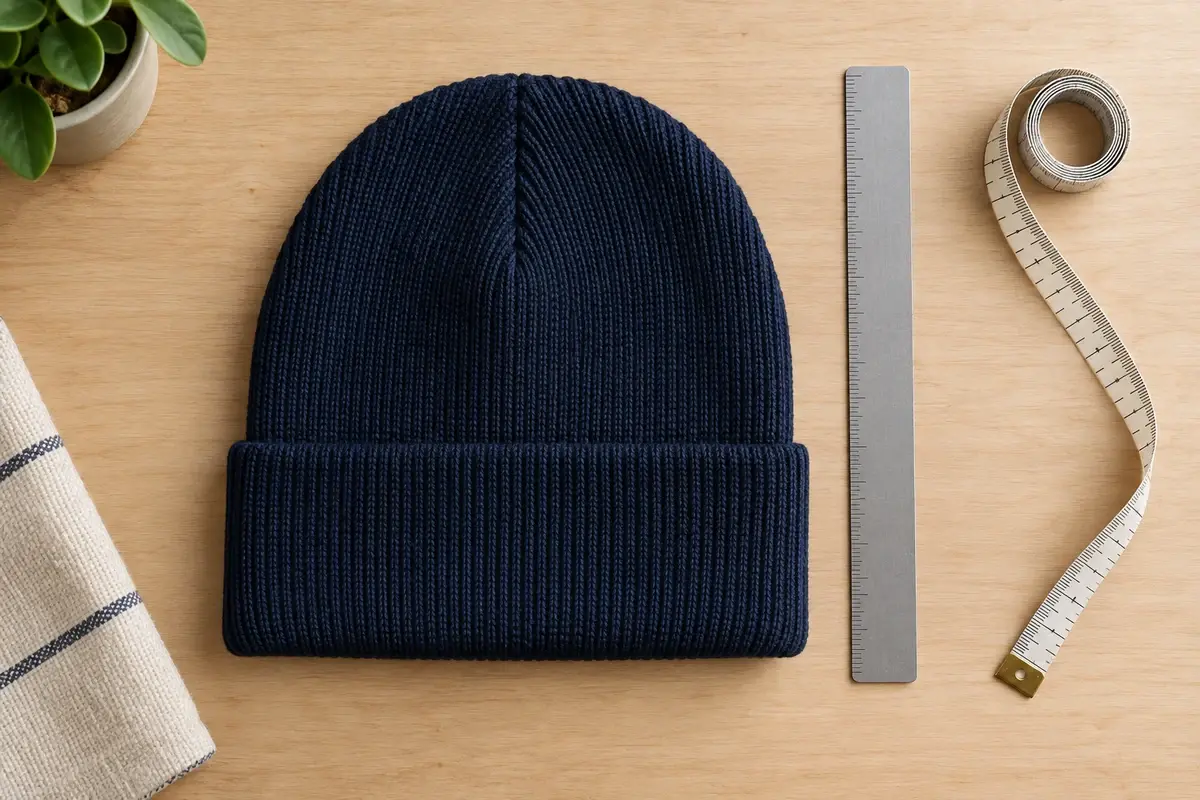
Lay the beanie flat without stretching it. Record the units, cuff position and whether it has been worn or washed. Use a method the person checking the next sample or bulk order can repeat.
Set up the measurement sheet
Let the hat settle and smooth obvious folds without stretching the knit or pulling the opening wide. Follow any resting or conditioning period specified by the inspection procedure, and record that condition.
Use the same condition for comparison samples. A hat measured just after fitting may differ from one measured before wear.
| Code | Measurement | Method |
|---|---|---|
| A | Flat opening width | Straight across the agreed lower edge, relaxed |
| B | Finished height | Defined lower edge to crown top, cuff in agreed position |
| C | Visible cuff height | Lower folded edge to upper visible cuff edge |
| D | Unfolded total height, if needed | Opening edge to crown, cuff unfolded |
| E | Logo position | Distance from a named edge or front centerline |
Put the same codes on a front-view drawing with arrows. For a slouchy or shaped hat, say whether height follows the surface or is a straight flat distance. Specify the method and use it consistently.
Keep head circumference in a separate field
Flat width describes the hat; head circumference describes the wearer. Doubling a relaxed width doesn't establish a comfortable fitting circumference for a stretch knit.
Record the intended wearer range separately. Check fit on the agreed headform or wearers with the lining, cuff and decoration included. The complete construction determines how the hat feels.
WiseBeanie's size and fit service can help relate the size sheet to that construction. Send a reference hat or measurement drawing when starting the sample discussion.
Make a measurement photo another person can reproduce
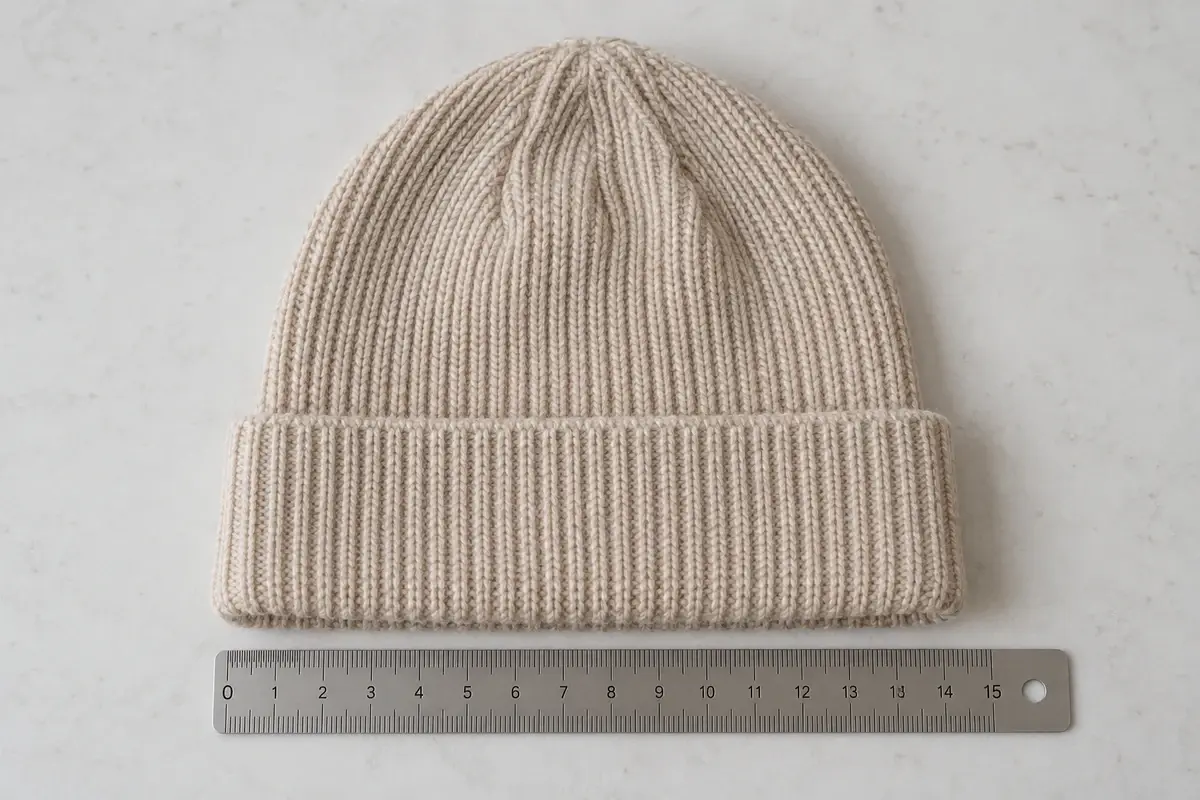
Lay the hat and ruler in the same plane and make both endpoints visible. Photograph the full measurement and add a close-up if the reading is unclear. A ruler close-up without the starting point doesn't establish the dimension.
Label the image with the measurement code, sample identity and cuff state. Avoid holding the knit under tension to keep the ruler in place. If the opening is being measured relaxed, the photograph should show that condition rather than a stretched width that happens to meet the target.
If the buyer and factory report different values, compare their methods first: folded or unfolded cuff, straight distance or surface measurement, relaxed or recently worn sample. Repeat the measurement under one agreed procedure before assuming the production size is wrong.
A size table should separate target from result
A target size and an acceptable variation aren't the same thing. Ask the factory what tolerances are achievable for the actual yarn and construction, then agree them in writing. A number copied from an unrelated style's chart may not be suitable.
Use separate columns for the target, agreed tolerance, actual reading and decision. Don't replace the target with the sample reading; both show what was requested and supplied.
As an arithmetic example, a 21.0 cm target with an agreed tolerance of ±0.5 cm allows 20.5–21.5 cm. A reading of 21.6 cm falls outside that range. Agree the actual limits for your product.
If the measurement is disputed, repeat it by the agreed method and record both readings rather than rounding one into acceptance. If the parties accept an exception, document it separately to preserve the original requirement for the next order.
Keep size development separate from production acceptance
During development, you may deliberately change dimensions to find the right fit. Once a sample and size sheet are approved, bulk checks need to use the accepted version. Record a new design preference separately from a failure to meet the approved measurements.
For several sizes, keep one row or sheet per approved size. Don't assume that increasing every dimension by the same amount produces the intended fit. Ask for the actual proposed measurements and sample review for the sizes being ordered.
Keep the target, sample identifier, method and acceptance decision together on the measurement sheet.
Record what you measured
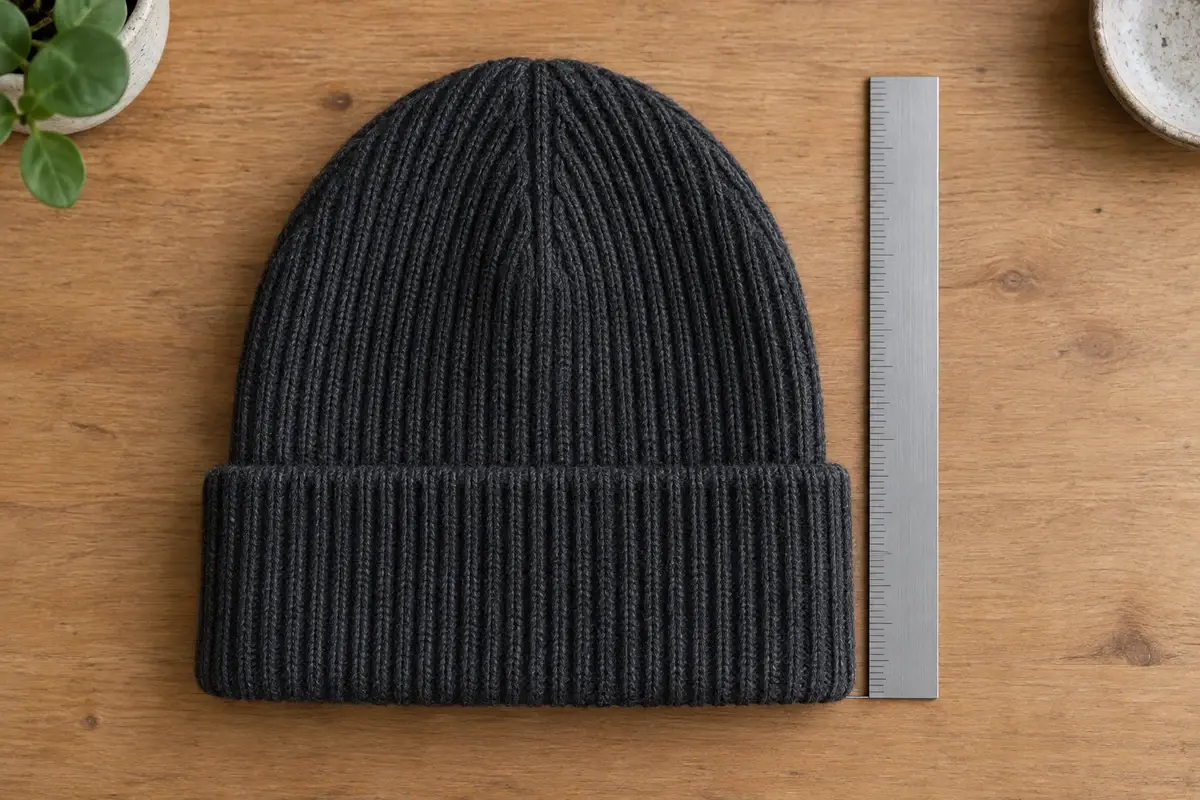
For each inspected item, record style, size, sample identifier and actual measurements. Note departures from the agreed cuff position or sample condition. A ruler photo can clarify a discrepancy if both the scale and starting point are visible.
If the brief includes care testing, measure before and after using the same method and agreed care process. Record the change; don't assume the original dimensions will remain identical.
Related Guides and Factory Options
- How to Approve a Custom Beanie Sample
- Review custom production options
- How Sampling and Production Work
Share a dimensioned drawing, measurements or a physical reference. We can review the fit and measurement points to use for your sample.
Discuss Size and Fit